 Screo
How to Record Your Screen on Mac With Audio (Microphone and System Sound)
How to record your Mac's screen with your voice, the sound your Mac plays, or both — with the built-in tools on each macOS version, and with a dedicated app.
Recording your screen on a Mac is easy. Recording it with the right sound used to be the tricky part: your voice was simple, but the sound your Mac itself plays — a video, an app's alerts, the other side of a call — wasn't something the built-in tools could capture for a long time.
That changed recently, so the answer depends on which version of macOS you're on.
Option 1: The Screenshot app (Shift-Command-5)
Press Shift-Command-5 to open the Screenshot toolbar. On the right side you'll see recording options:
- Record Entire Screen
- Record Selected Window (macOS Tahoe 26 or later)
- Record Selected Portion
Before you start, click Options:
- Microphone. Choose your built-in mic, headset or USB microphone to record your voice.
- Include System Audio. Available in macOS 27 Golden Gate or later. This records the sound your Mac plays.
- Show Mouse Clicks draws a circle around the pointer when you click.
- Timer and Save to let you add a countdown and choose where the file goes.
Click Record to start. To stop, click the Stop button in the menu bar or press Command-Control-Esc.
Option 2: QuickTime Player
Open QuickTime Player and choose File → New Screen Recording (or press Control-Command-N). On recent macOS versions this opens the same Screenshot toolbar as above. QuickTime's own recording window, where it appears, offers a microphone choice but not system audio.
What if you're on macOS 26 or earlier?
On versions before macOS 27, the built-in recorder can record your microphone but not your Mac's own sound. The traditional workaround is a virtual audio driver such as BlackHole, combined with a Multi-Output Device in Audio MIDI Setup. It works, but it's fiddly, and it's easy to end up hearing nothing yourself while recording.
The simpler route is a recording app that captures system audio directly, which modern macOS allows apps to do with your permission.
Recording with audio in Screo
Screo records an area, a window or an entire display, and lets you choose the audio source in Settings → Recording:
- System audio — what your Mac plays
- Microphone — your voice, with a choice of input device
- Both — Screo records the two sources and mixes them into a single track when you stop, so the file plays correctly everywhere
Screo needs macOS 14 or later, so this works on Sonoma, Sequoia and Tahoe without any audio drivers.
A few extras help with tutorials and bug reports:
- Click highlighting, so viewers can see where you clicked
- Camera overlay, a small circle or rectangle with your camera in a corner
- Pause and resume, so you don't have to cut mistakes later
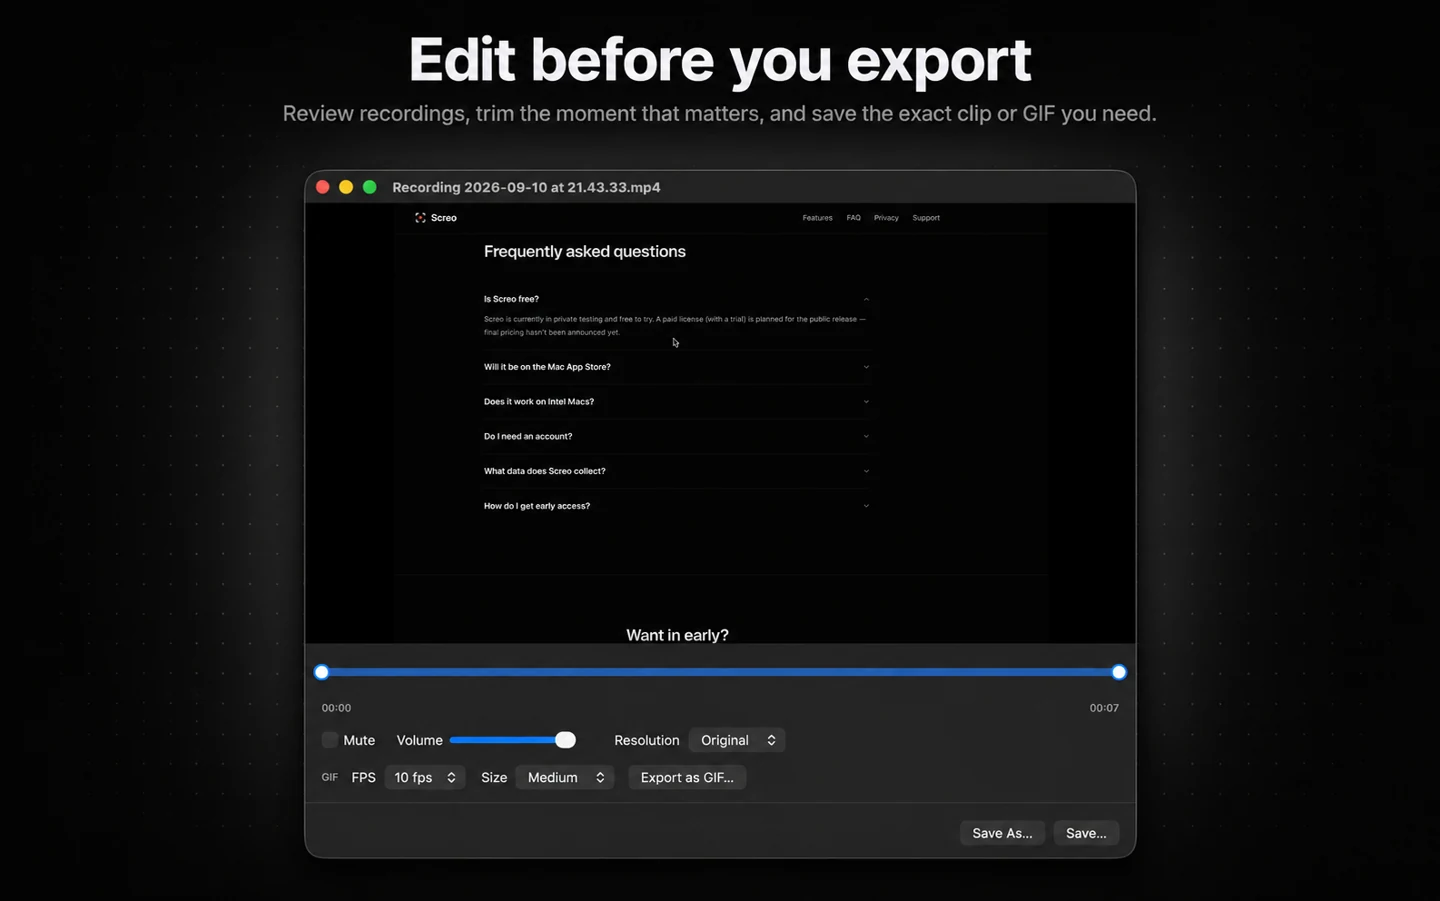
- Trim, mute and export to 1080p or 720p MP4, or straight to GIF
The first time you record, macOS asks for screen recording permission (and microphone permission if you use the mic). You can manage these in System Settings → Privacy & Security.
Tips for a clean recording
- Use headphones when recording both your voice and system audio. Speakers plus a microphone create echo.
- Turn on a Focus mode such as Do Not Disturb, so notifications don't appear mid-recording.
- Record a 5-second test and play it back before the real take. It's the fastest way to catch a muted mic.
- Close tabs and windows you don't want in the video, and hide the desktop if it's cluttered.
- Record a selected area or window rather than the full screen when you can. The file is smaller, and viewers can actually read the text.
Which option should you use?
- On macOS 27 and only need occasional recordings? The built-in Screenshot app now covers microphone and system audio.
- On an earlier macOS, or recording often? A dedicated recorder saves you the audio-driver setup and adds trimming, click highlights and GIF export.
If you also take a lot of screenshots, it helps to have both in one app. See our comparison of screenshot apps for Mac for the options.
Screo is a native screenshot and screen recording app for Mac — nothing you capture ever leaves your Mac.