 Screo
How to Change Where Screenshots Are Saved on Mac (and Stop Cluttering Your Desktop)
Screenshots land on your desktop by default. Here's how to send them to a folder of your choice, change their format, or copy them to the clipboard instead.
By default, every screenshot you take on a Mac lands on the desktop. After a few weeks, the desktop is a wall of files with near-identical names, and finding last Tuesday's screenshot means squinting at thumbnails.
Here's how to send screenshots somewhere better — or skip saving files at all.
Change the save location with the Screenshot app
This is the easiest way and doesn't require any commands:
- Press Shift-Command-5 to open the Screenshot toolbar.
- Click Options.
- Under Save to, pick one of the listed locations (Desktop, Documents, Clipboard, Mail, Messages, Preview), or choose Other Location… and select any folder.
The setting sticks: from now on, Shift-Command-3, Shift-Command-4 and the toolbar itself all save to that location.
A good setup is a dedicated folder, such as Pictures → Screenshots. Create it first in Finder, then choose it with Other Location.
Change the save location with Terminal
If you prefer the command line, or you're setting up several Macs, you can set the location with one command. Create the folder first, then run:
defaults write com.apple.screencapture location ~/Pictures/Screenshots
New screenshots go to the new folder. If the change doesn't take effect right away, log out and back in.
Change the file format
macOS saves screenshots as PNG by default, which is ideal for text and interfaces but makes large files for photos. To switch to JPEG:
defaults write com.apple.screencapture type jpg
To go back, run the same command with png.
On supported Macs running macOS Tahoe 26 or later, the Screenshot app's Options menu also lets you choose between SDR (PNG) and HDR (HEIF) capture.
Skip the file and copy to the clipboard
Often you don't need a file at all — you just want to paste the screenshot into Slack, an email or a document. Add Control to any screenshot shortcut:
- Control-Shift-Command-3 copies the whole screen.
- Control-Shift-Command-4 copies a selected area.
Nothing is saved; the image is on your clipboard, ready to paste.
Tidy up what's already on your desktop
If your desktop is already full, right-click the desktop and choose Use Stacks. macOS groups files by kind, so all your screenshots collapse into a single stack. Then drag the stack into your new Screenshots folder in one go.
Note: these settings only affect the built-in tools
Changing the macOS save location doesn't change where third-party apps save their captures. Each app has its own setting.
Choosing a folder and file names in Screo
In Screo, the save folder is set in Settings → Files. You can also set a file name template using placeholders:
{date}and{time}— when the capture was taken{counter}— an increasing number{width}and{height}— the image size in pixels
So a template like {date} {counter} produces names that sort neatly and never collide. A live preview shows what the next file will be called.
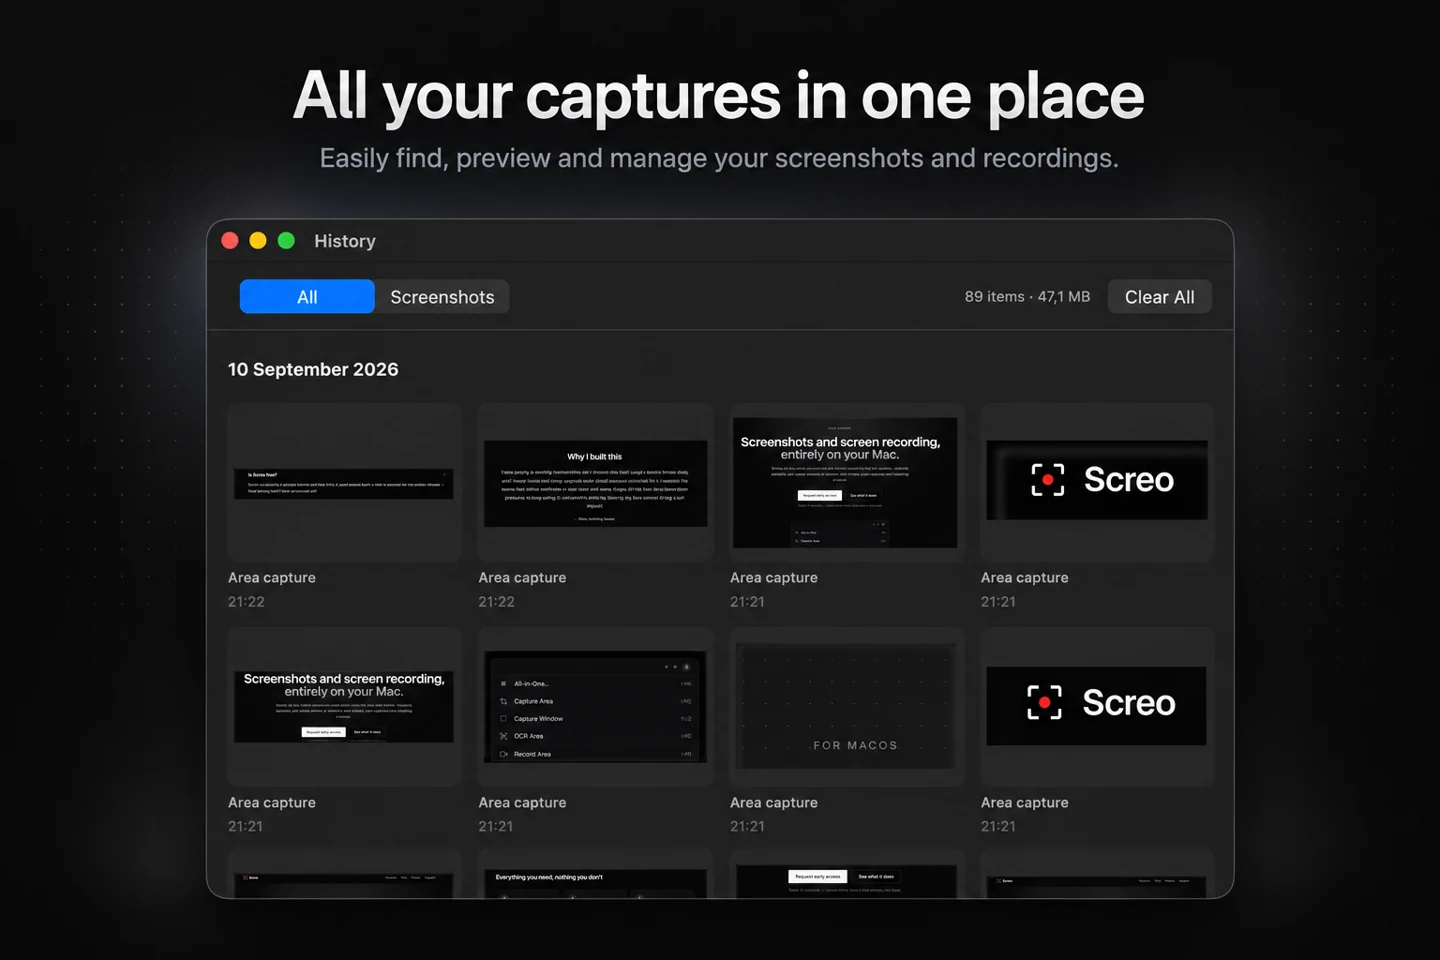
Screo also lets you decide what happens right after each capture: show the quick-access tray, copy to the clipboard, save straight to the folder, or open the annotation editor. If you mostly paste screenshots into messages, "copy" means you never create a file you'll have to clean up later.
The short version
Use Shift-Command-5 → Options → Save to for a new folder, add Control to a shortcut when you only need to paste, and turn on Stacks to rescue an existing desktop. Five minutes of setup, and you won't have to think about it again.
Screo is a native screenshot and screen recording app for Mac — nothing you capture ever leaves your Mac.